Webflow Text Marquee Animation with the new GSAP Timeline
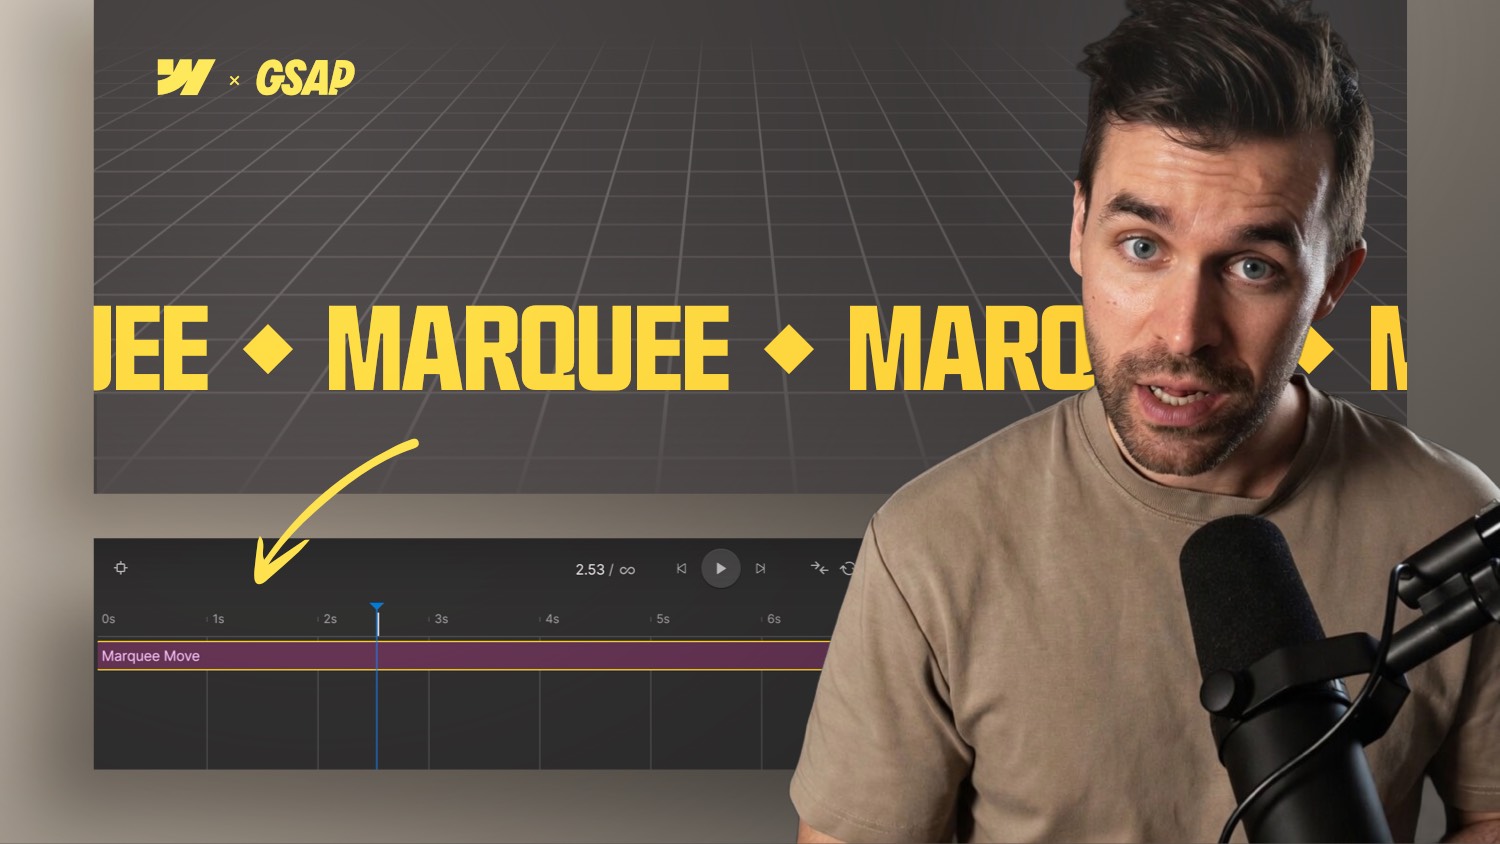

Want a smooth, performance-friendly Text marquee in Webflow? Here's the cleanest no-code setup using the new GSAP Timeline.
In this tutorial you'll learn how to build a perfectly looping marquee in Webflow no custom code needed. I'll show you the right scroll trigger setup, why page load animations hurt performance, and how to fix the gap flicker issue most designers run into.
Create a Looping Marquee in Webflow with the GSAP Timeline
Want to add a smooth, infinitely looping marquee to your Webflow project without writing a single line of custom code? With the new GSAP Timeline feature in Webflow, this is fully possible. This tutorial walks you through the complete setup, including the scroll trigger that keeps it performant.
Building the Marquee Structure
Every marquee starts with the same basic HTML structure. You have a content element a text block, logo, symbol, or image wrapped inside a div. Name this wrapper marquee-track.
Set marquee-track to flexbox horizontal, aligned center-left. If your marquee lives inside a hero element, position it absolute for example 0.7rem from the bottom. One small but important detail: enable no-wrap on your text elements so they never break into a second line as the viewport narrows.
Duplicate Your Content for a Seamless Loop
Here is the key to a truly seamless loop: duplicate your content element. Two identical copies sit side by side inside marquee-track. As the first element slides out to the left, the second takes its place creating the illusion of an infinite stream.
For spacing, avoid using gap on the flexbox wrapper. Instead, add equal padding-left and padding-right to each content element. This keeps spacing consistent on both sides and prevents a flicker at the loop point. If your text uses CQW for font-size, use the same unit for padding so it scales proportionally with the container.
Why Scroll Triggers Beat Page Load Animations
This is where many web designers go wrong. Using a page load animation for a marquee means the animation runs continuously in the background even when the user has scrolled far past the section. That wastes GPU and CPU resources and measurably hurts page performance.
The correct approach is a scroll trigger. Start the animation when the element enters the viewport, and pause it when it leaves. In Webflow's scroll interaction settings, set the start to: top of element at 120% viewport (just outside the visible area), and the end to: bottom of element at -20% viewport (just below the visible area).
Switch from "Scrub on scroll" to Trigger Actions: play on enter, pause on leave, continue on re-enter, pause again when leaving. The animation only runs when it is actually visible clean and performant.
Configuring the GSAP Timeline
Double-click the timeline to add a new action step. Name it move, set the target to the trigger element (marquee-track), and set a duration 15 seconds is a solid starting point. More content or a slower pace? Increase the duration.
Always use linear easing. Any other easing curve causes the animation to speed up or slow down, breaking the loop illusion immediately.
Add an X position property in percentages: start at 0, end at -50%. Because the content is duplicated, moving it left by 50% brings the second copy exactly into position for a seamless loop. Enable infinite repeat and the interaction is complete.
Clipping and the Wrapper Element
If you want the marquee to stay visually contained clipped on left and right apply overflow: clip to the parent wrapper element. Without it, the text slides outside the bounds of your container. Make sure to apply this at the correct wrapper level, not directly on marquee-track.
Turning It Into a Reusable Component
Once the marquee works correctly, convert marquee-track into a Webflow component using Cmd + Shift + A. Webflow will suggest two properties you only need one. Connect both text elements to the same input so editing one instance updates both copies at once.
Want to go deeper with GSAP in Webflow? The Webflow GSAP Interactions Masterclass covers timelines, scroll-driven animations, and more no custom code required. Check it out at https://www.formburg.com/en/gsap-masterclass