This GSAP Scroll Effect Makes Every Hero Section Feel Premium
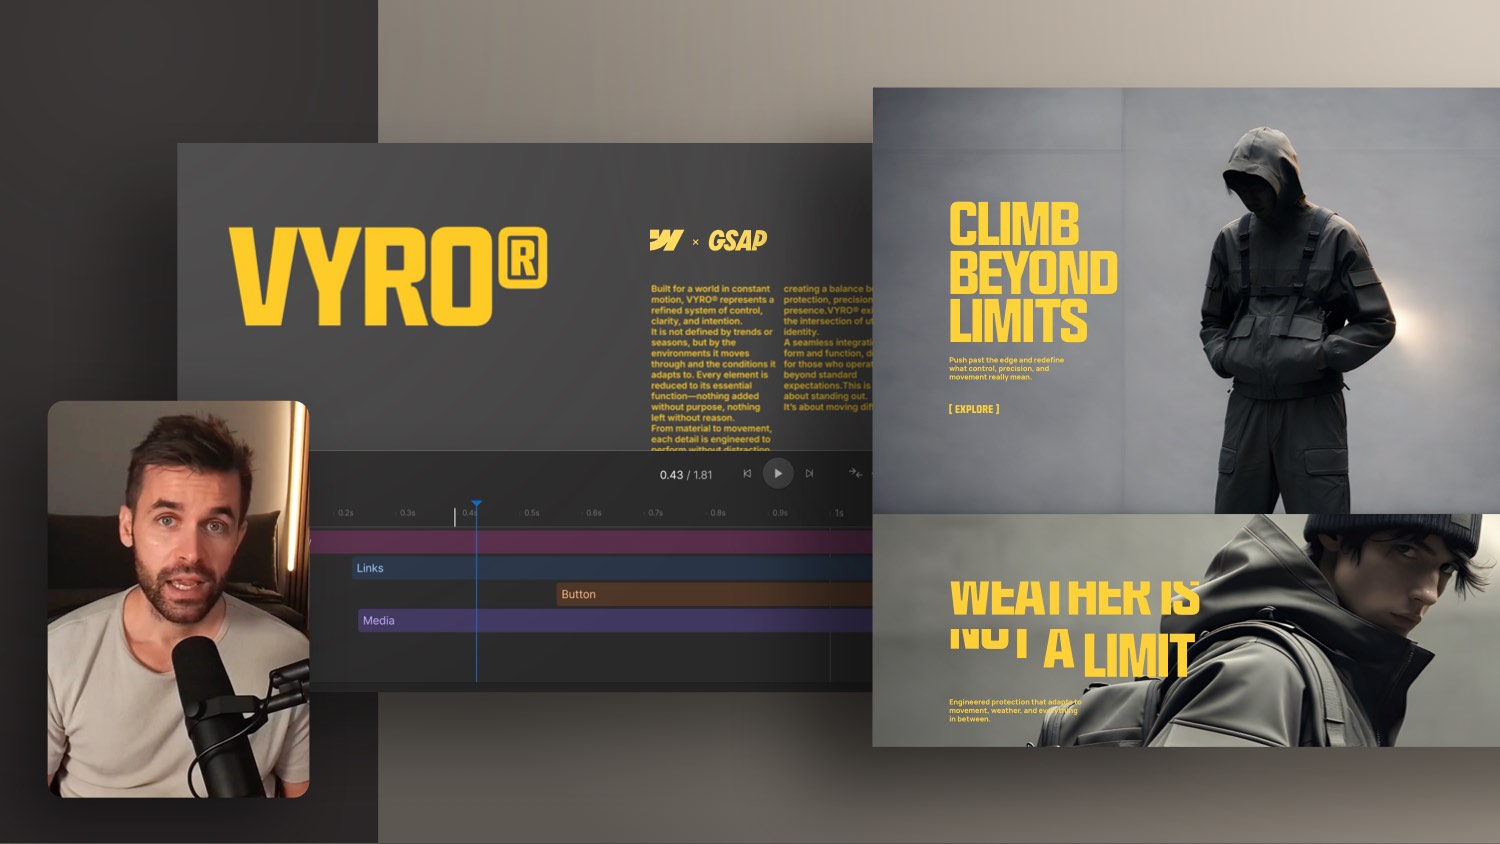

Want a hero section that actually feels premium? In this Webflow tutorial you'll build a smooth GSAP scroll animation from background scale to parallax movement to staggered title reveals.
Everything runs natively inside Webflow. No extra plugins needed. The finished animation is available as a free cloneable you can paste straight into your own project.
What you'll learn:
- Setting up a GSAP scroll timeline in Webflow
- Animating background images with scale and Y-axis movement
- Fading hero content on scroll with easing control
- Staggering hero title lines for a polished reveal
How to Build a Premium Hero Scroll Effect in Webflow with GSAP
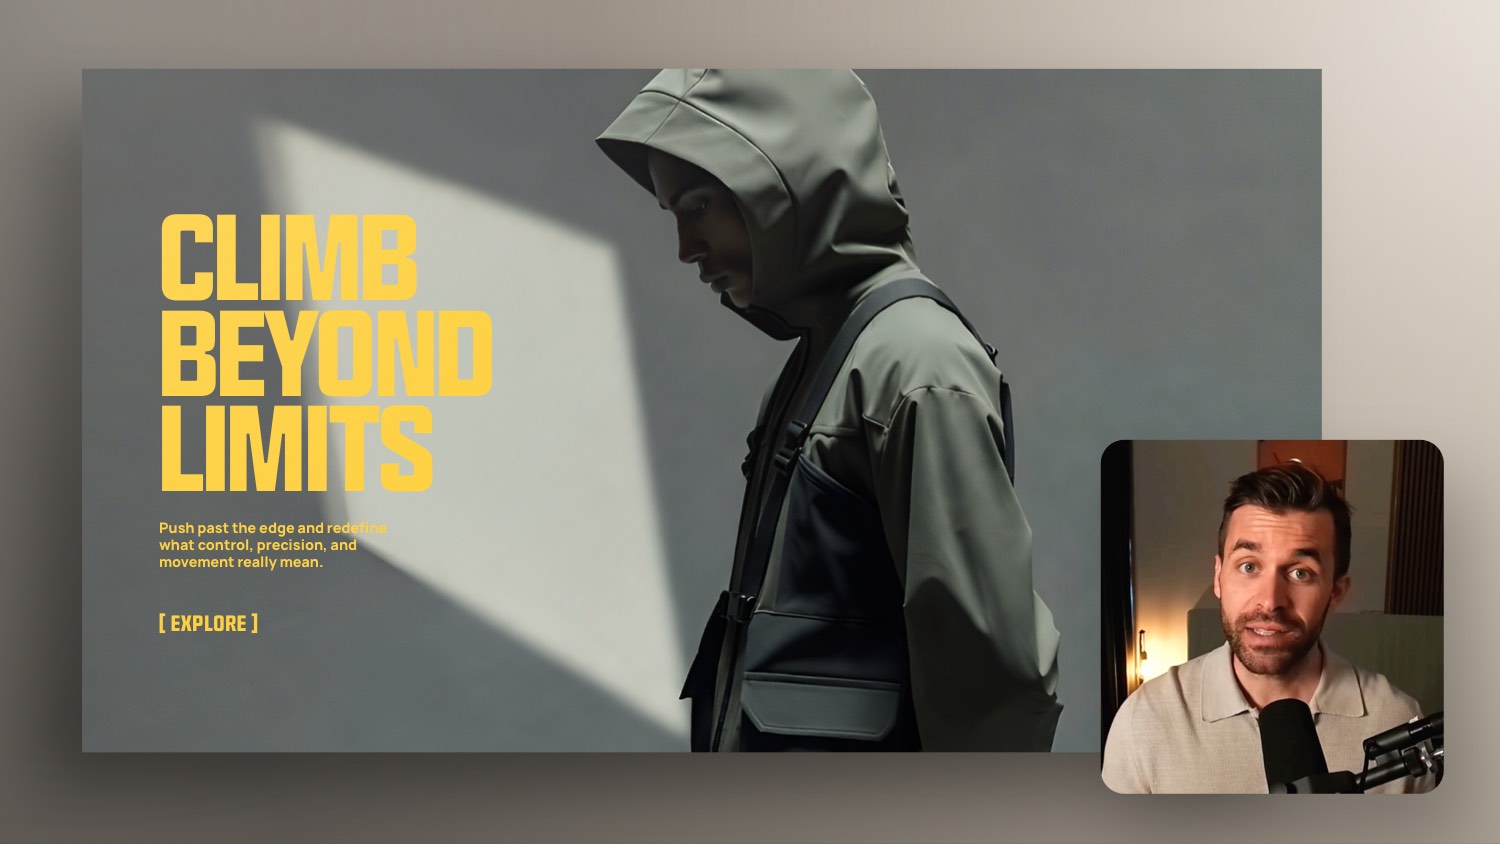
Most hero sections look fine. But the ones that feel premium move with intention the background scales back as the text fades, and title lines slide in one by one. In this tutorial, you'll build exactly that using GSAP directly inside Webflow, with no external plugins required.
The finished animation is available as a free cloneable you can paste straight into your project.
Setting Up the Scroll Interaction
Start by selecting your hero section element and assigning it a dedicated class for example section-hero-scroll. This is the class GSAP's scroll trigger will watch.
Open the Interactions panel and create a new scroll interaction. Name it something descriptive like HeroSectionScrollEffect. In the trigger settings, point it to your hero section class. This means whenever any element with that class enters the viewport, the animation fires. Leave the start and end values at their defaults, keep Scrub on Scroll enabled, and reduce the smoothness slightly too much makes the effect feel disconnected from the scroll position.
Animating the Background Image
Double-click the timeline to add your first action step. Target the background image element using the class selector and filter within the trigger element. This keeps the interaction self-contained if you reuse the section multiple times on the same page, each instance animates independently.
Animate the background image from a scale of 1.7 down to 1.0 as the section scrolls in. This subtle zoom-out creates a sense of depth as the section enters view.
Performance tip for Safari: Wrap the background image inside two nested divs one for scaling, one for movement. Animating both transformations on the same element can cause performance issues in Safari. One wrapper handles the Y-axis movement, the other handles the scale.
For the media wrapper, add a Y-axis movement from 25vh to -20vh. The image travels upward slightly faster than the natural scroll speed, which makes the background feel like it exists on a separate plane.
Adding an Opacity Fade to the Hero Content
Add a new action step targeting your hero content wrapper class. Animate the opacity from 0 back to its original value as the section scrolls in.
The default linear easing can feel mechanical here. Experiment with ease-in-out curves to get a softer fade that feels natural at different scroll speeds. Reducing the duration slightly often helps too the goal is a fade that responds to scroll speed without feeling jarring when you scroll fast.
Parallax Movement on the Text
Duplicate the content fade action step and add a Y-axis movement alongside the opacity. Shift the text from around -12vh to 12vh. This creates a parallax relationship between the text and the background both are moving, but at different speeds and in different directions.
Don't overdo the value. Between -10vh and -15vh tends to feel right. Too much looks exaggerated; too little disappears entirely. Adjust manually until it feels natural at normal scrolling pace.
Staggering the Hero Title Lines
The final layer is the most satisfying. Add a new action step targeting your hero title class. Animate the Y position from 100% to 0 and split the text line by line. Set a stagger of around 25ms between each line.
This cascading reveal one line sliding in just after the previous gives the headline a confident, structured feel. Add a strong easing like Power 3 In Out for a snappy reveal rather than a slow drift. You can also set the opacity to 100% manually on this step if other animations are affecting it.
Adjusting the Section Height
After setting up the animations, check if the next section appears too quickly during scroll. If it does, increase the minimum height of the hero section to around 110vh or 120vh. This extends how long the section stays in the viewport, giving all three layers enough time to play through cleanly.
Final Result
When all three layers work together background scale and movement, content fade, text parallax with stagger the hero section reads as polished without feeling overanimated. Each layer is subtle on its own. Together they create something that feels noticeably more premium.
Grab the free cloneable linked below to skip the setup and start with the finished version.
Want to go deeper into Webflow and GSAP? The Webflow GSAP Interactions Masterclass walks through the full animation system step by step, including ready-to-use templates for client projects: https://www.formburg.com/en/gsap-masterclass