Icons & Icon Fonts in Webflow – The Ultimate Guide
Level:
Einfach 👌

Link to the preview:
https://webflow-lernen.webflow.io/icons-in-webflow-via-google-fonts
Clone project:
Open directly in Webflow Designer
Icons embellish any website. And how great that there are now also open source icons via Google Fonts. You can use them in all website projects — including Webflow, of course.
Finding your way around Google Fonts
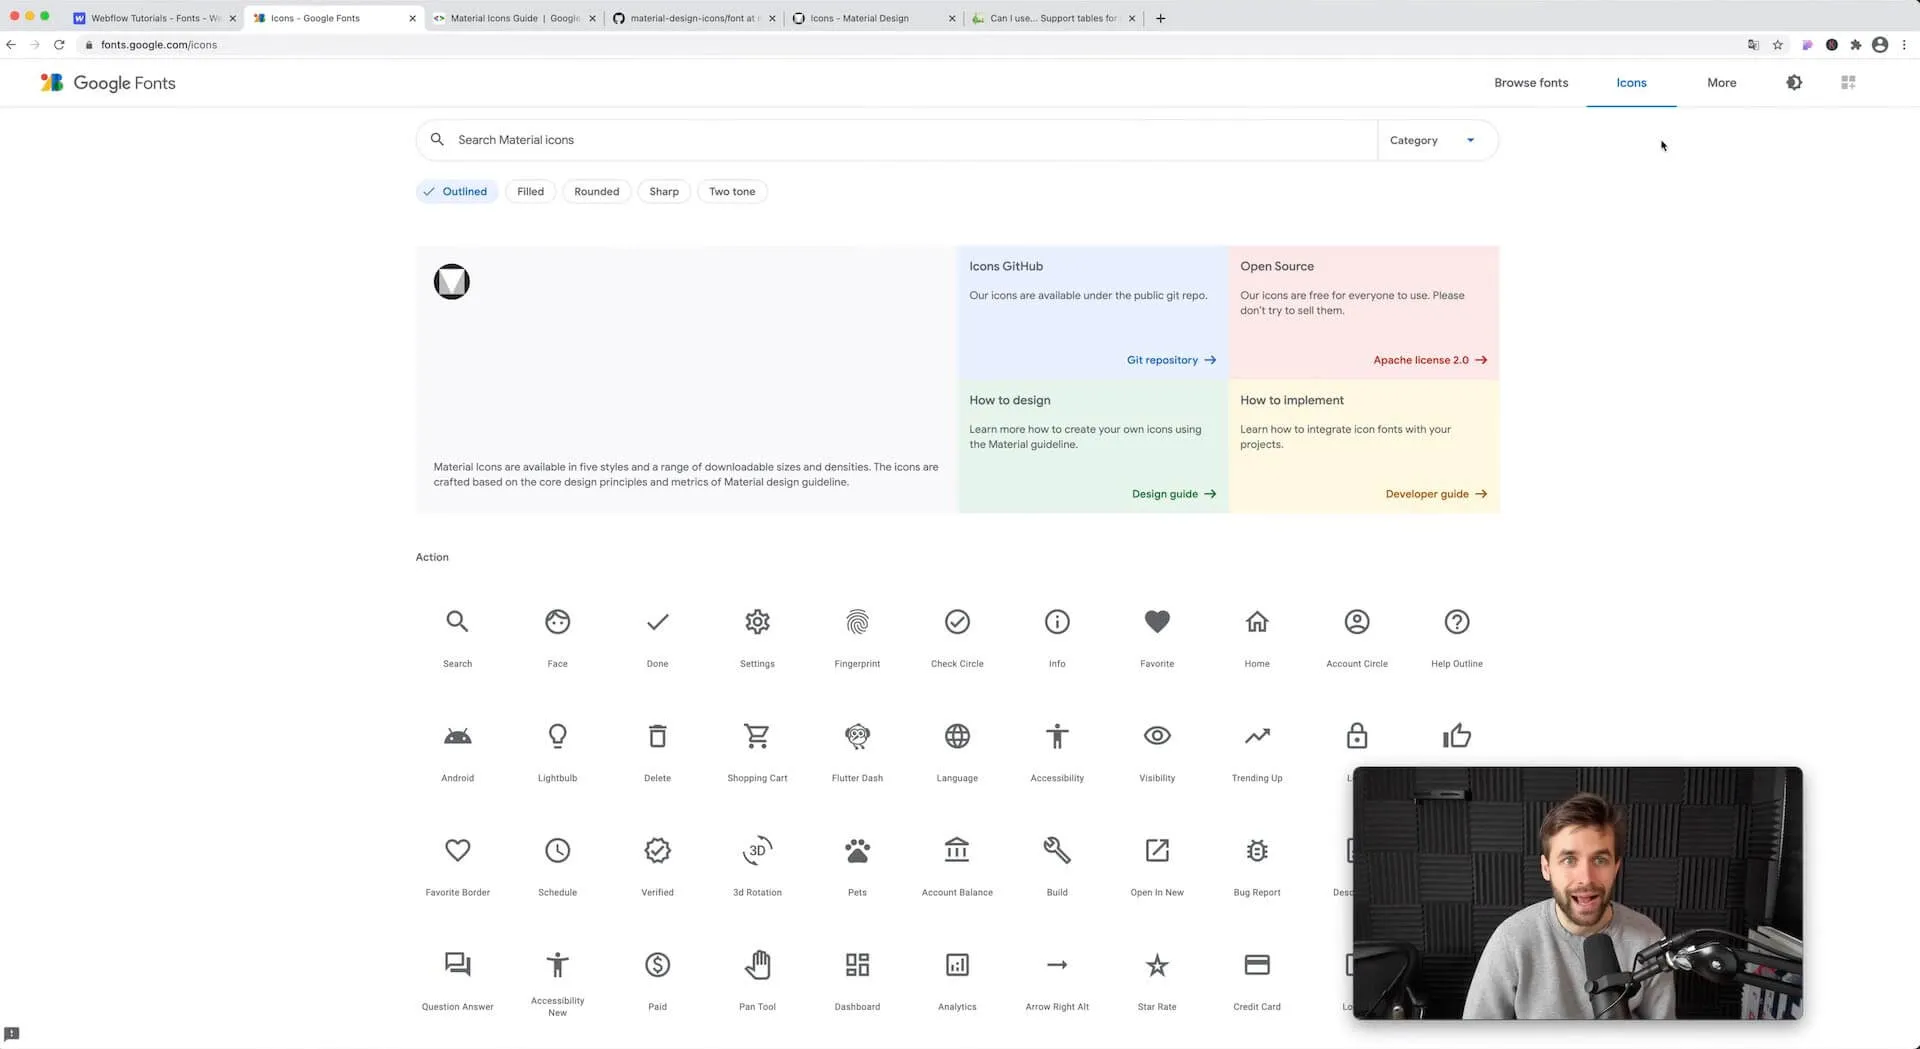
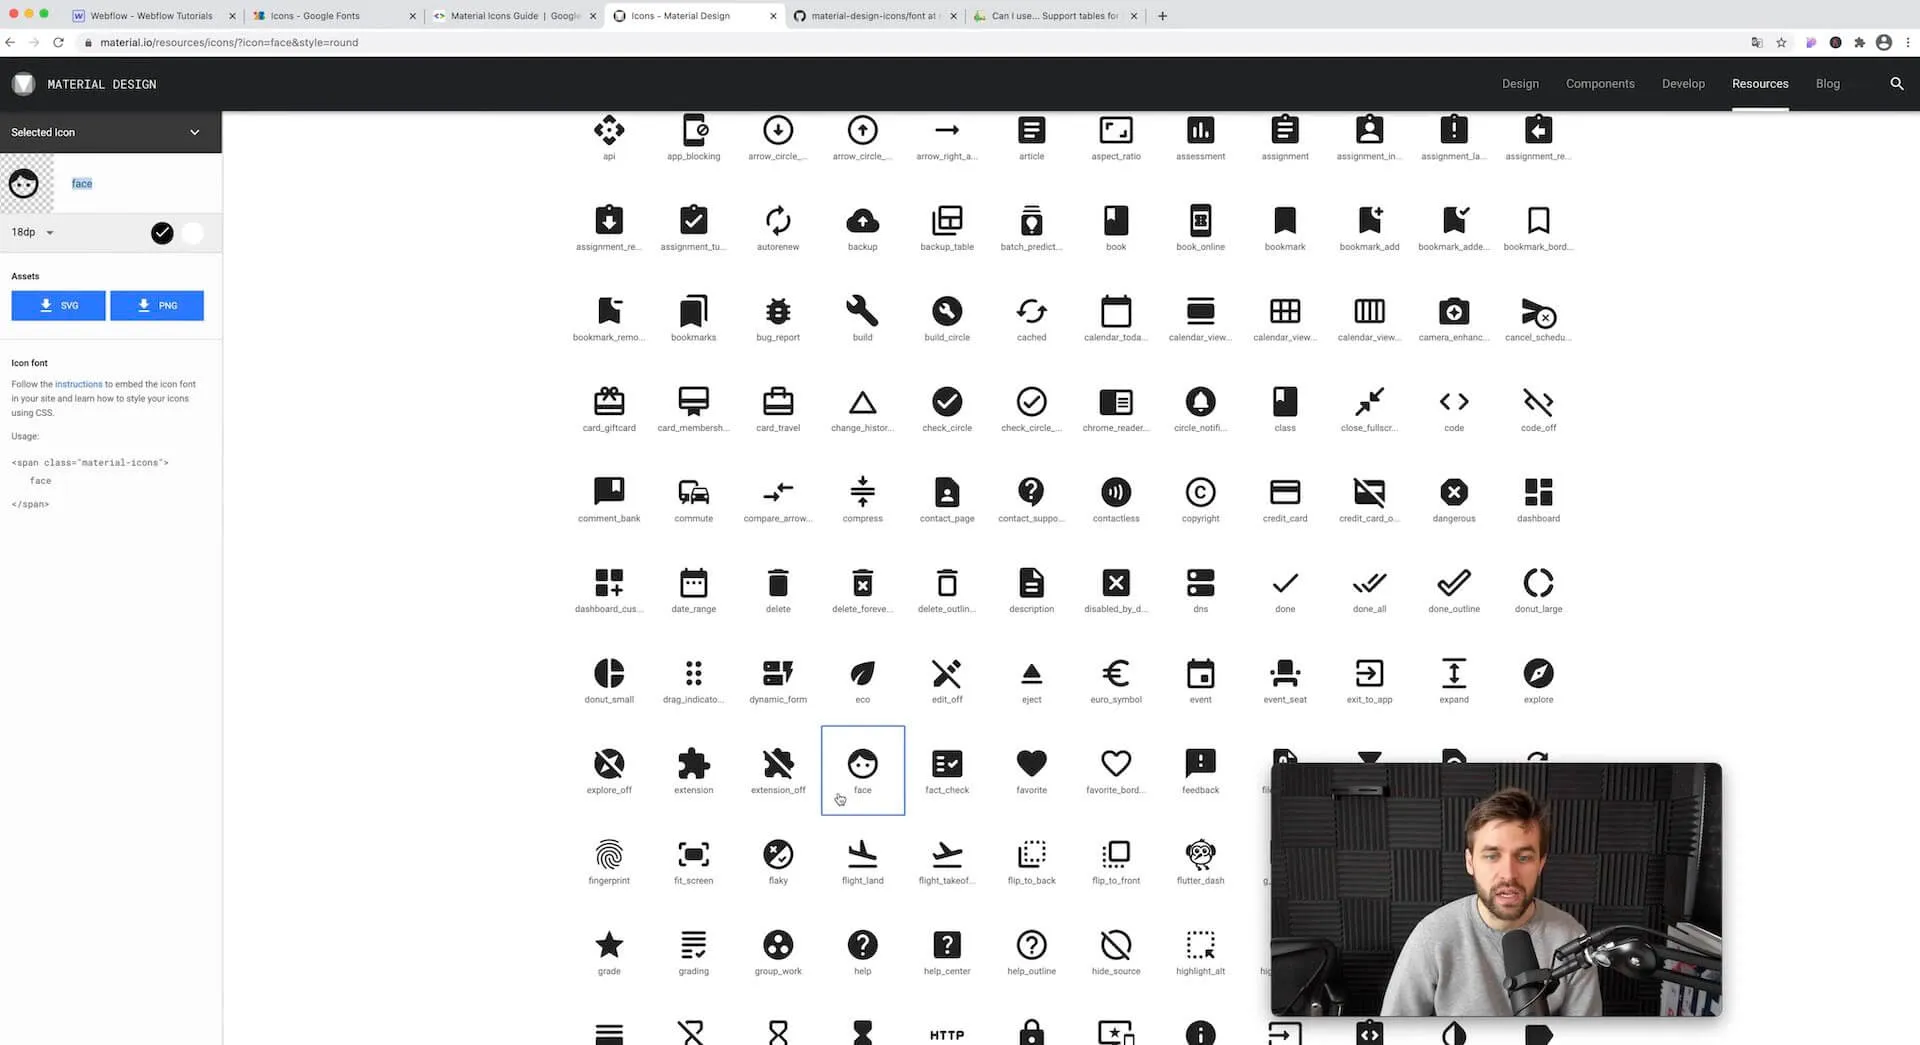
As soon as you are on the Google Fonts page If you are, click on the tab at the top right Icons. Now you get a wide selection of Material Design Icons displayed. The material icons are available in five styles and in various sizes and are based on the most important principles and metrics of material design.
From the Google Material Design icons, you can also access the Developer Guide, which is a handy guide if you're just starting out with Google Fonts. By the way: On the Google Fonts Icons homepage, you can also find out what the individual material icons are called. This is extremely helpful for Step 3 in this guide.
Step 1: Download Google Icon Fonts
You can access the Webflow project settings via the tab Fonts to a drop-down menu where you select your desired Google font. However, the icons are missing.
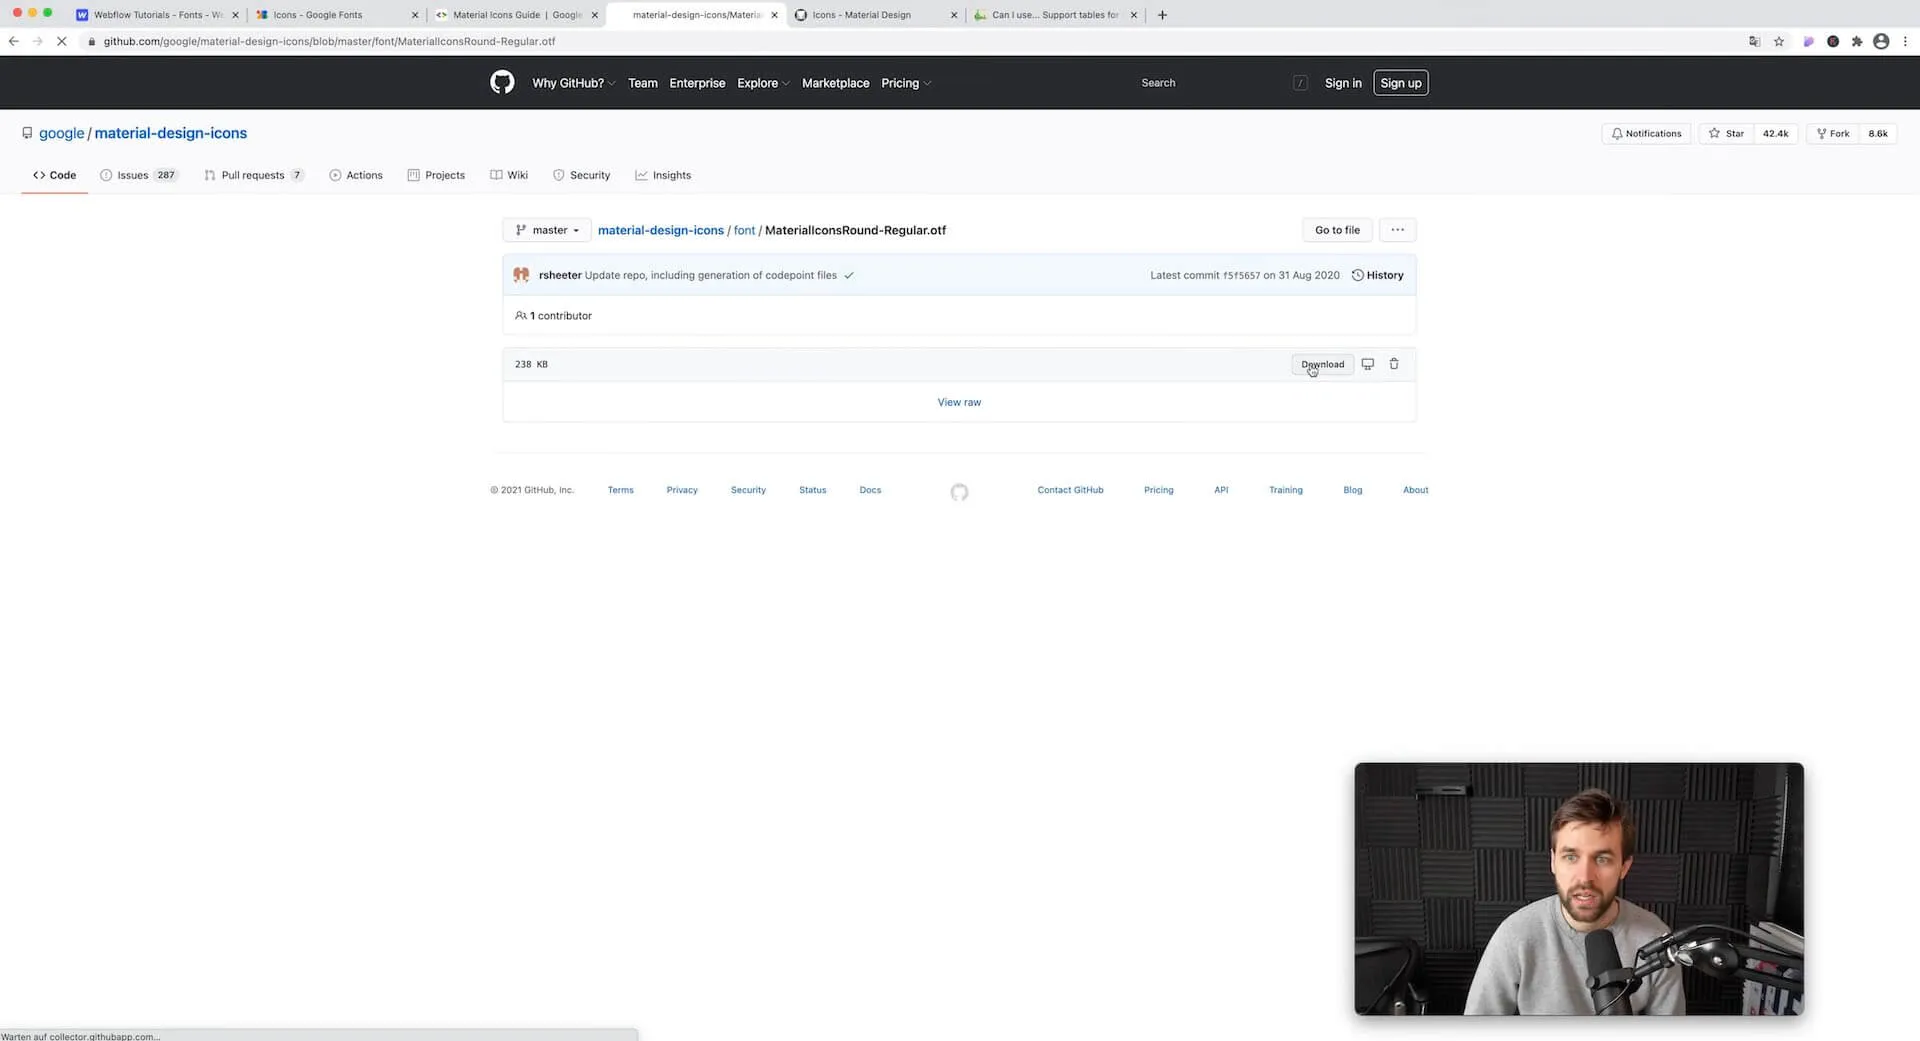
For you, this means: You must upload Google Icon Fonts separately. Fortunately, this is more than easy. Download the desired Google font here down.
Step 2: Upload Google Fonts to Webflow
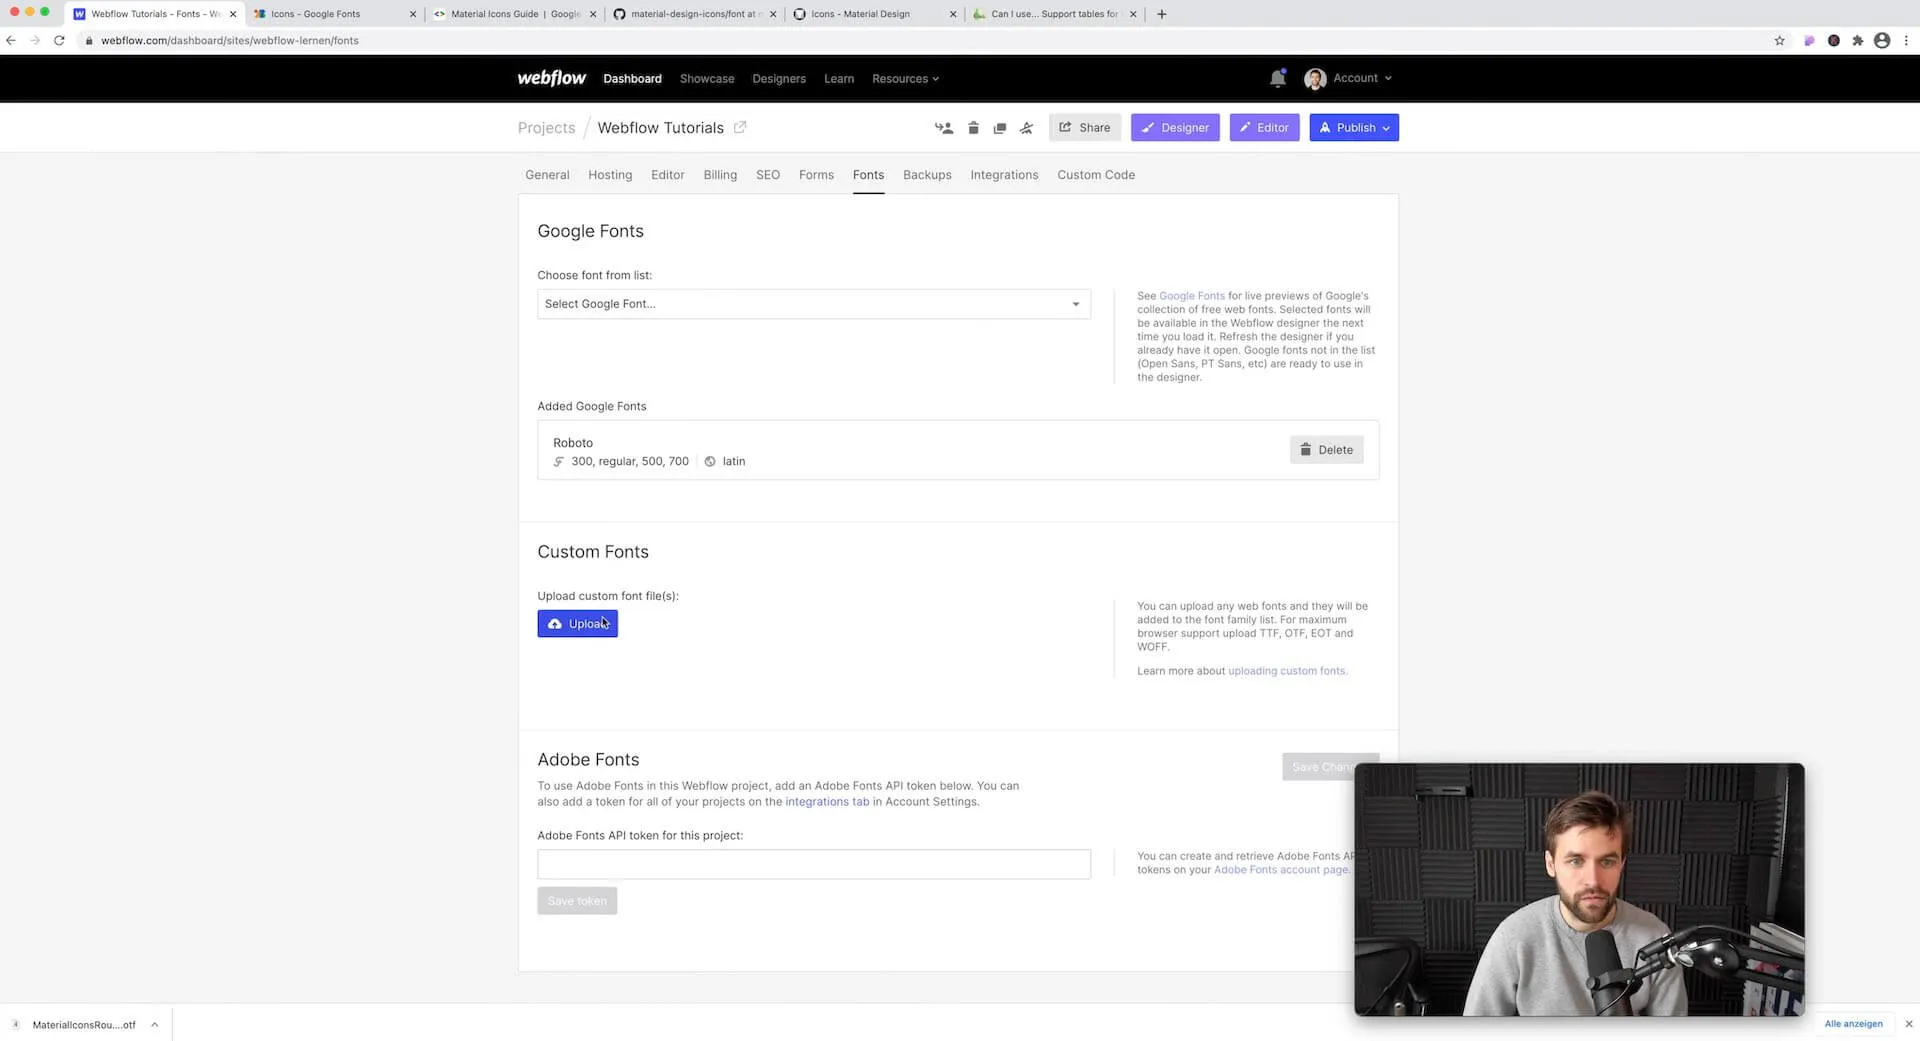
Once you've downloaded the icons in the desired form (you can choose between Outlined, Filled, Rounded, Sharp & Two tone), upload them to Webflow.
To do this, select the tab again in the Webflow project settings Fonts And click below Custom Fonts on the button upload. Select your font and confirm the upload.
From now on, this font family is available in Webflow Designer.
Pro tip: You could also upload the other styles of the Google Icon Font - but please don't do that if it's not absolutely necessary. Because the more you feed your site with such information, the longer the loading time will be.
Step 3: Use icons in Webflow Designer
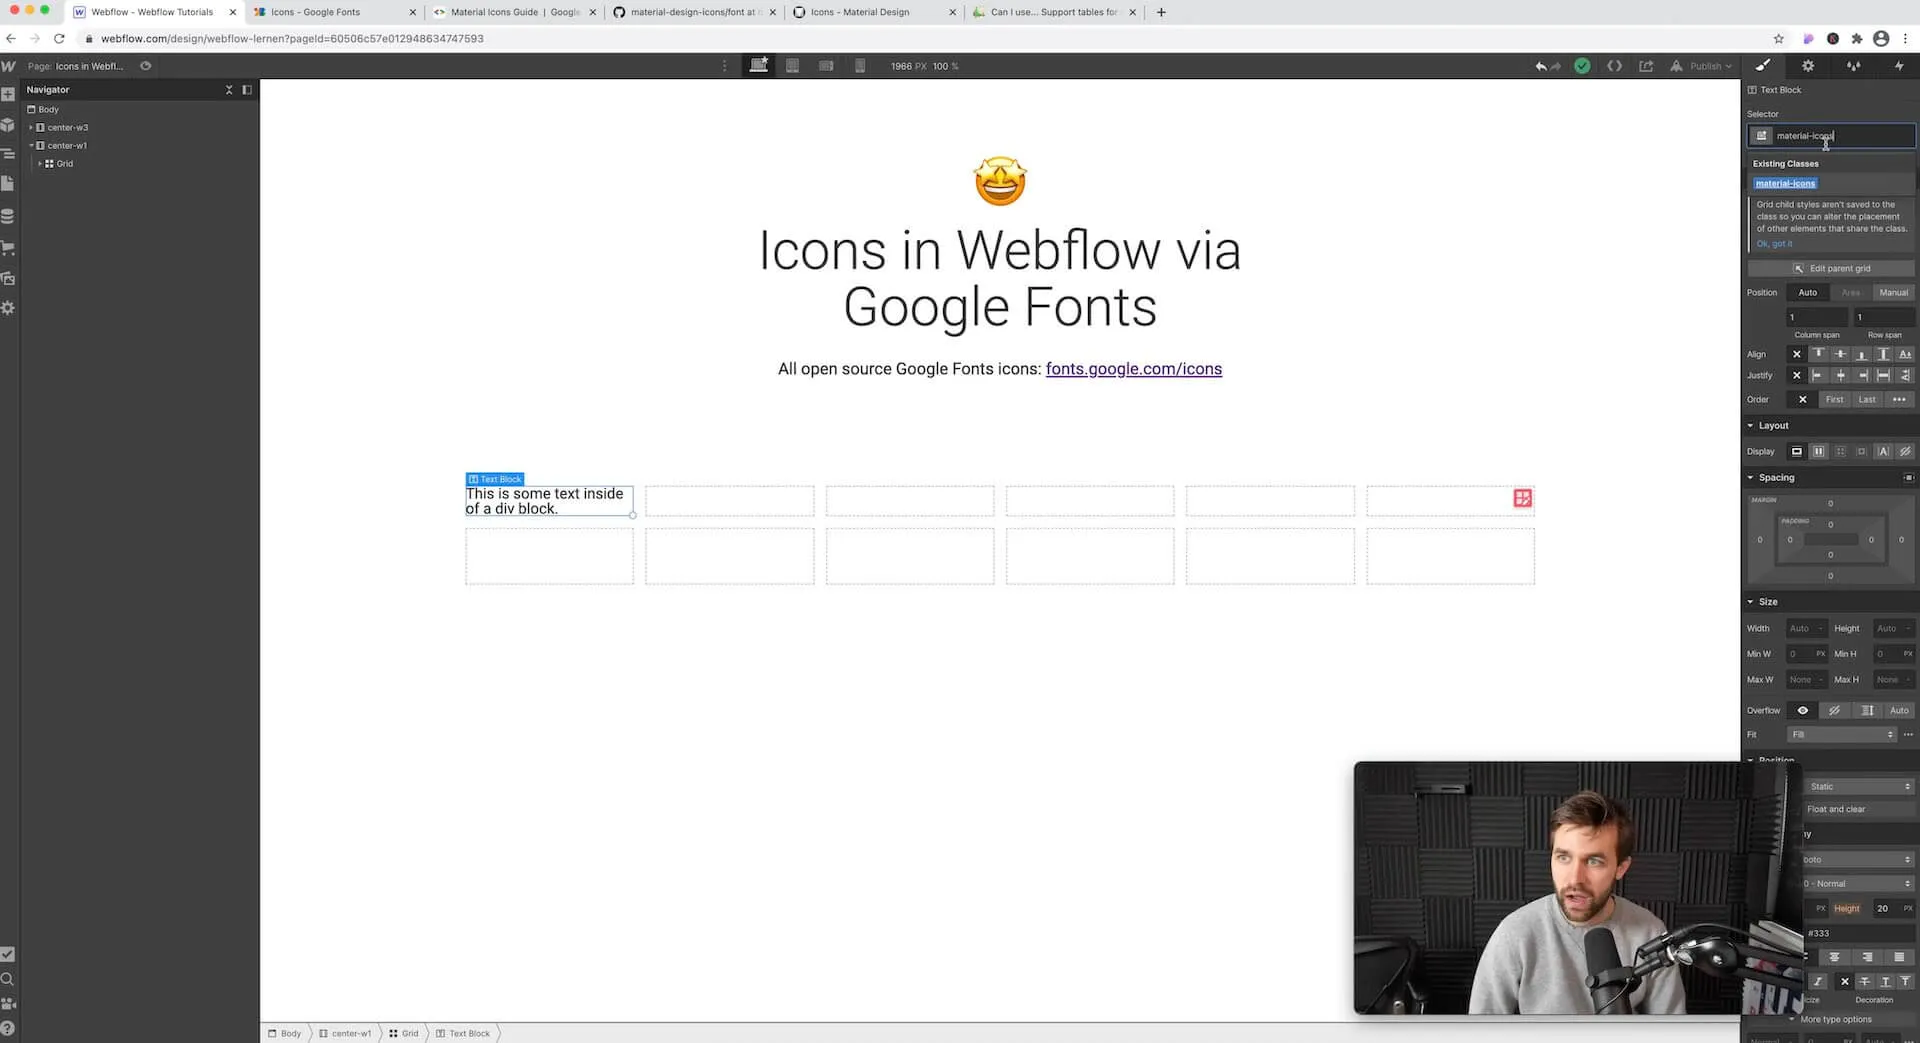
Create a text box or block of text. Generate the class for this block of text Material icons (top right below Selector) and now adjust the settings for this class.
In the Typography Settings on the right side of the screen, select the Google Icon Font you just uploaded and determine the size.
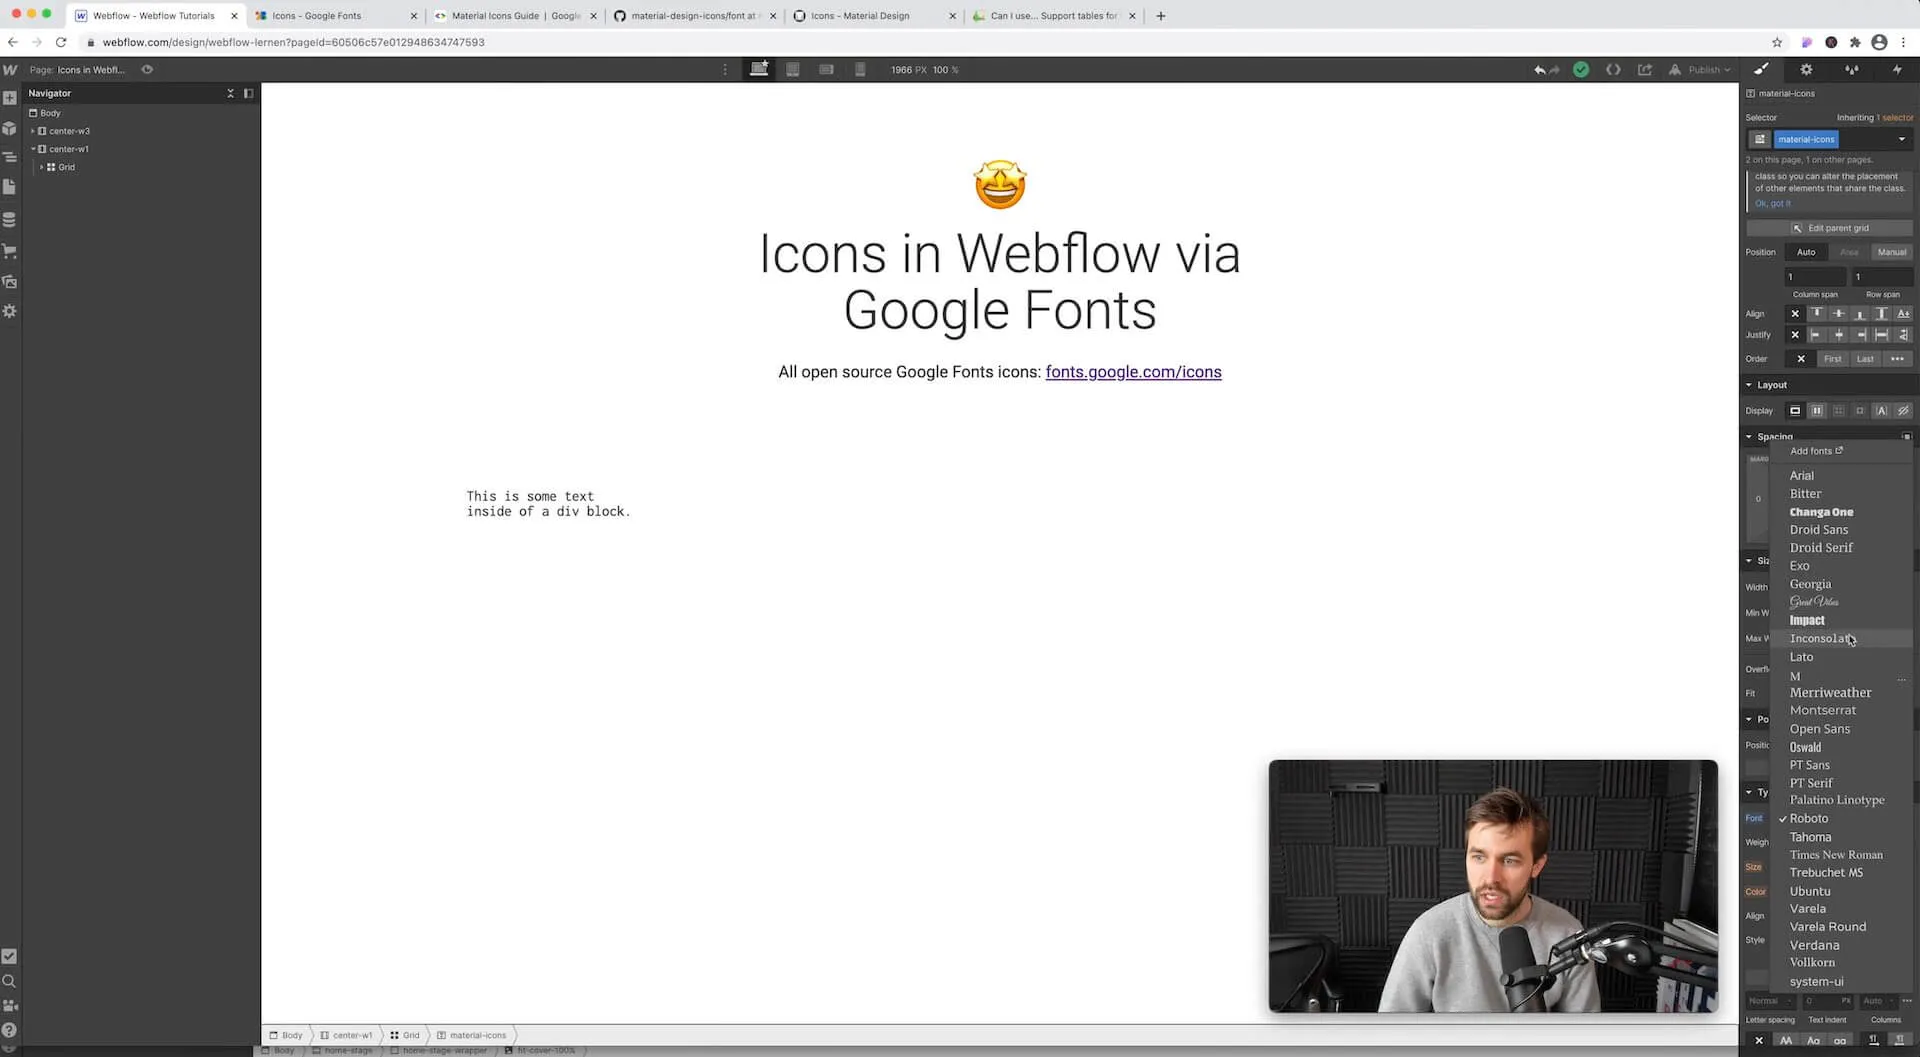
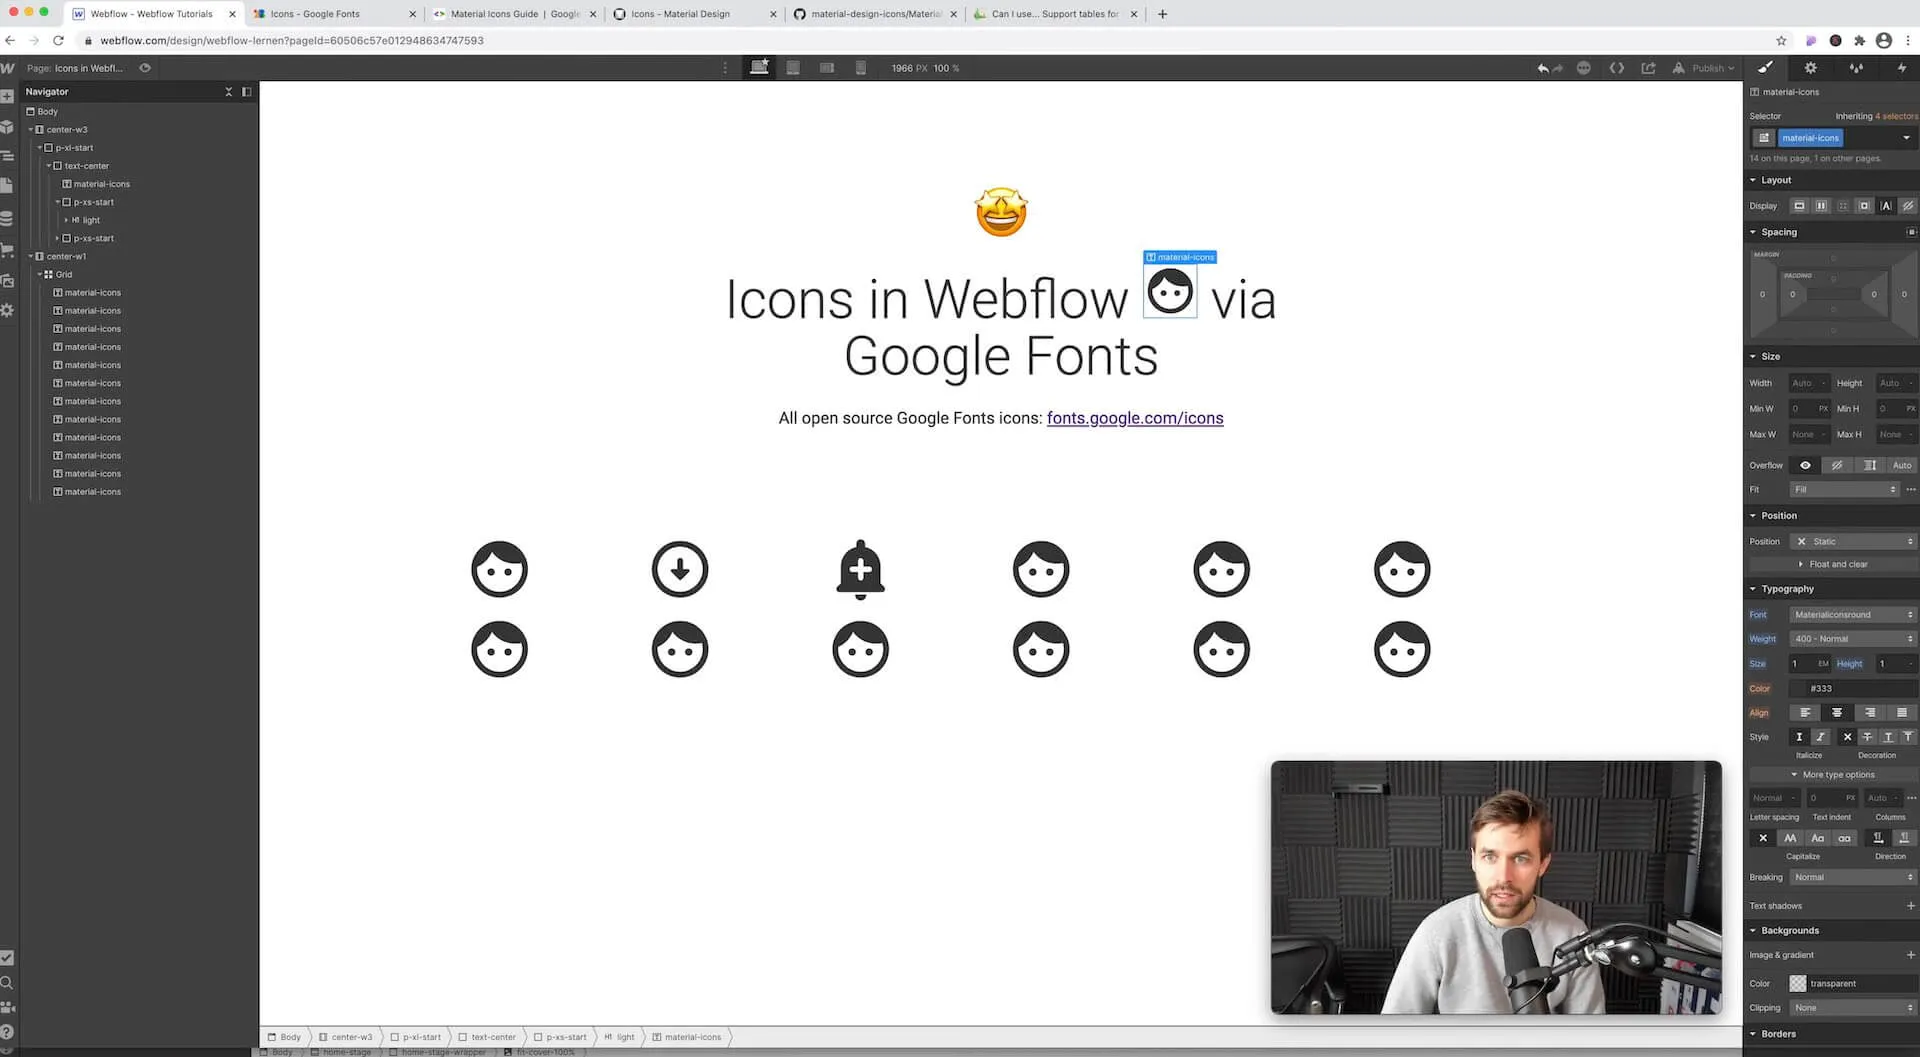
You don't see an icon in your text block yet. To display the desired icon, select the icon you want to use from the list of Google Material Icons. Copy the name of the icon (e.g. face) and paste it into the text block from just now. Tadaaa, the desired icon is visible.
Attention: Some icons are not (yet) included in the font. So don't be surprised. Almost all icons work, but sometimes an icon can be missing from the font.
Pro tip: You can also insert an icon into any text field in the Webflow Designer — within a headline, for example. To do this, simply enter the name of the icon at the desired location, make a field around the word (Text Span) and give this field the class Material icons.
Alternatives to Google Material Icons
Maybe the icons in Google Fonts aren't enough for you? No problem! It is not always necessary to use Google Material Icons in Webflow. You can also make your own icons an icon font. I really like to use iCoMoo. You can also upload your own icons there.
- Go to https://icomoon.io/app/#/select/library
- Select the desired icon font (note: Some fonts cost a little - others are for free!).
- Select the icons that you want to use on your Webflow website.
- At the bottom right, click Generate Font.
- Download the icon font.
- Upload the font to the Webflow settings under Fonts (see Step 2).
It's done.
.svg)
English