RIVE Deep Dive: Quickly animate graphics for webflow sites | with Lorenz Grabosch
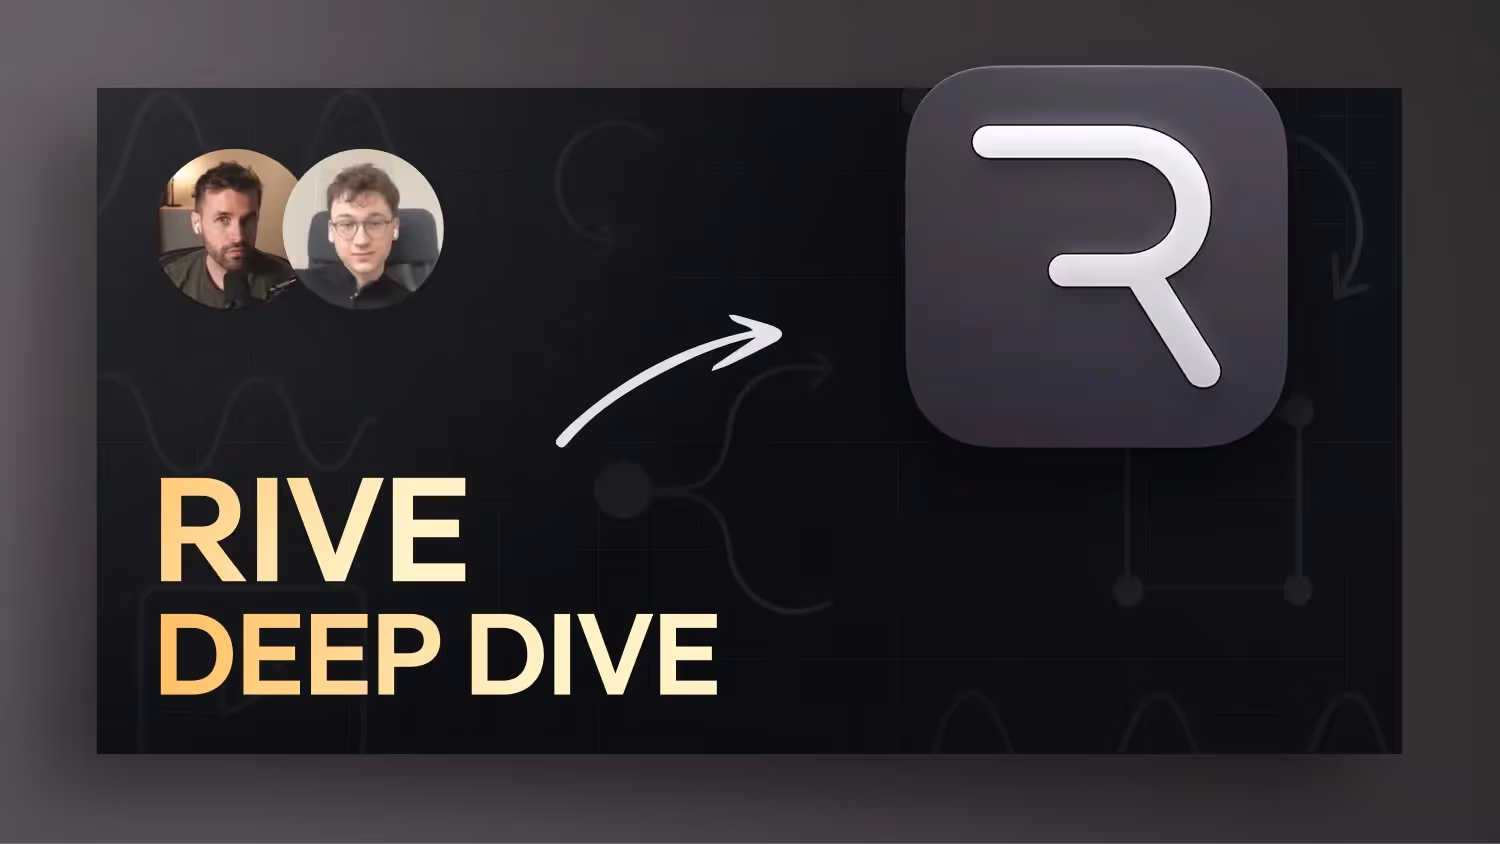

In this Deep Dive, Lorenz Grabosch shows why Rive animations for web and app projects are often the “next-level” upgrade to Lottie. You'll learn:
• his journey from After Effects to Rive
• the biggest performance and workflow benefits
• How to import SVGs from Figma into Rive, animate them and seamlessly integrate them into Webflow — including loop control, state machines & GSAP triggers.
Perfect for anyone who wants to build interactive animations faster and easier to maintain.
Laurenz Grabosch online
Why you should use Rive animations now
Interactive animations have long been standard — but the choice of format determines performance and maintainability. Rive offers decisive advantages over Lottie here.
From After Effects to Rive: The Quick Transition
- Direct Figma import: Copy graphics as SVG, paste them into Rive, done.
- Design & animation mode: Clean separation so that you place elements first and then animate them.
- File size shrinks: Tests show up to 70% smaller files compared to lottie-JSON.
State Machines Interactions
With state machines, you connect timelines, inputs, and states. One click, one scroll event — and your animation reacts instantly, even within Webflow Interactions.
How to connect Rive to Webflow
- Export animation:
.rivSave file. - Upload to the assets library and place it as custom code or via the Rive element.
- Loop, Once, or Controlled: In Webflow, choose whether the animation runs permanently, starts once or is triggered via a trigger.
Performance that inspires
Thanks to pure SVG output, the page loads faster, even when several animations run in parallel. Users notice smooth transitions instead of stutters.
Tips for your workflow
- The frame size in Figma should be the same as the size of the artboard in Rive — so every position is right.
- Group before exporting so Rive can rotate them as a unit.
- Use constraints to automatically rotate sub-elements in opposite directions.
conclusion
When you build animations that easy to maintain, responsive and super fast There is hardly any way around Rive. Test it out on your next customer project — your load times (and your team) will thank you for it.
The differences: Rive vs. Lottie Files
Workflow & creation
Lottie:
- Uses After Effects to create animations.
- Exports animations using the Bodymovin plugin to a JSON format.
- Ideal if you have designers who are familiar with After Effects.
Rive:
- Has its own editor, similar to a design and animation program.
- You create and animate directly interactive and dynamic animations.
- You don't need After Effects — everything happens in Rive itself.
interactivity
Lottie:
- Animations are mostly linearly — they play, pause, stop
- Interactivity must usually built around it using code become.
Rive:
- Support for State Machines — ideal for interactive UI elements (e.g. buttons, switches, charge levels).
- You can directly define how an animation behaves depending on the state or input.
File size & performance
Lottie:
- Very lightweight because it vector-based JSON is.
- However, it can lose performance with very complex animations (especially with effects from After Effects).
Rive:
- Also performant and lightweight, but in one own binary format (.riv).
- Usually better performance with very dynamic/reactive UI animations.
Integration with Webflow and Co.
Lottie & Rive:
- Both will supported natively in Webflow — simply pull it in and you're done.
- Very easy to implement and ideal for static or simple animations.