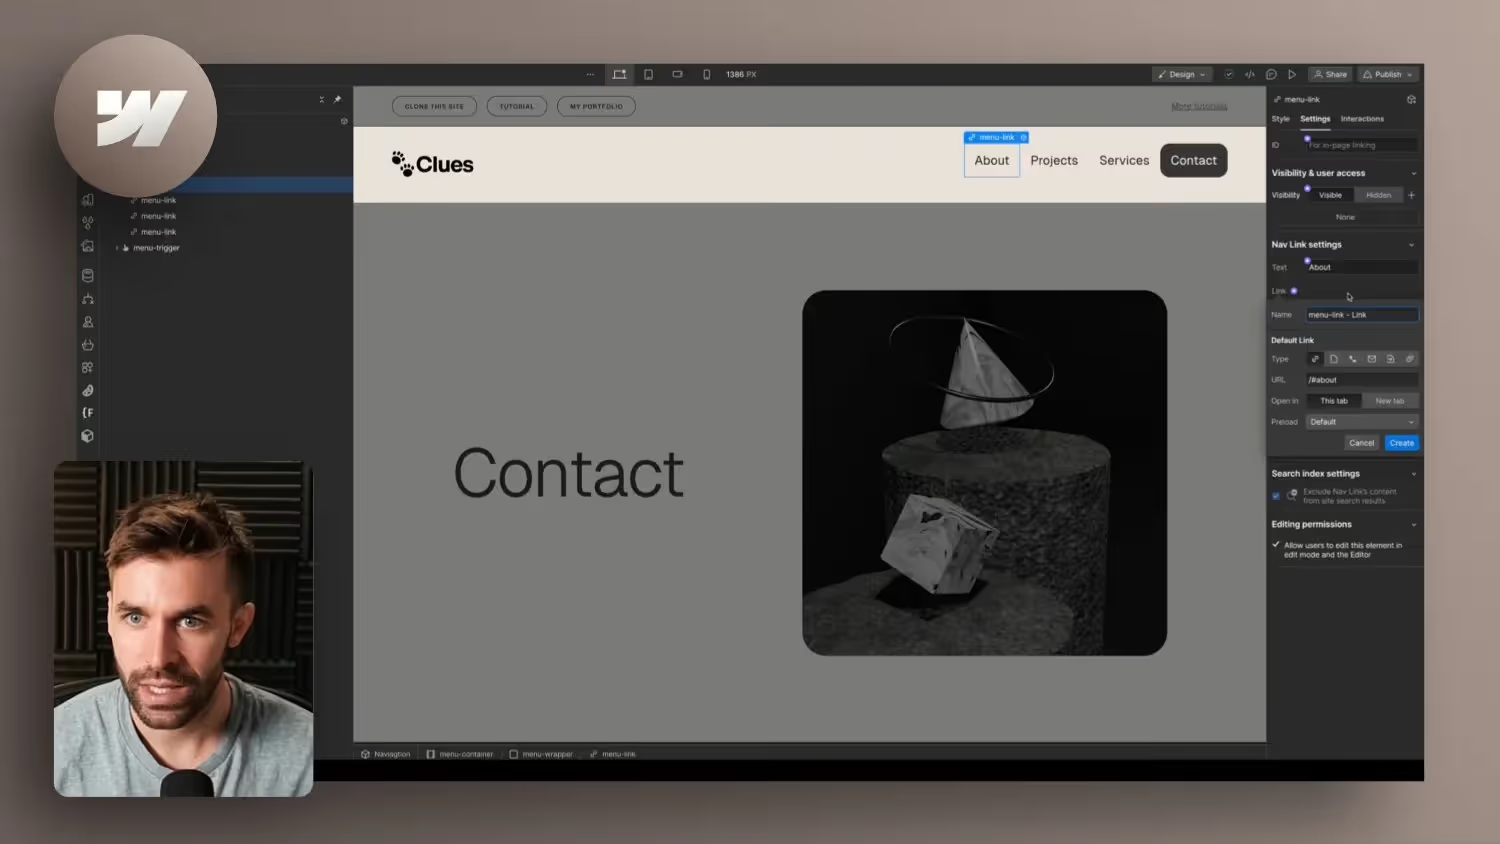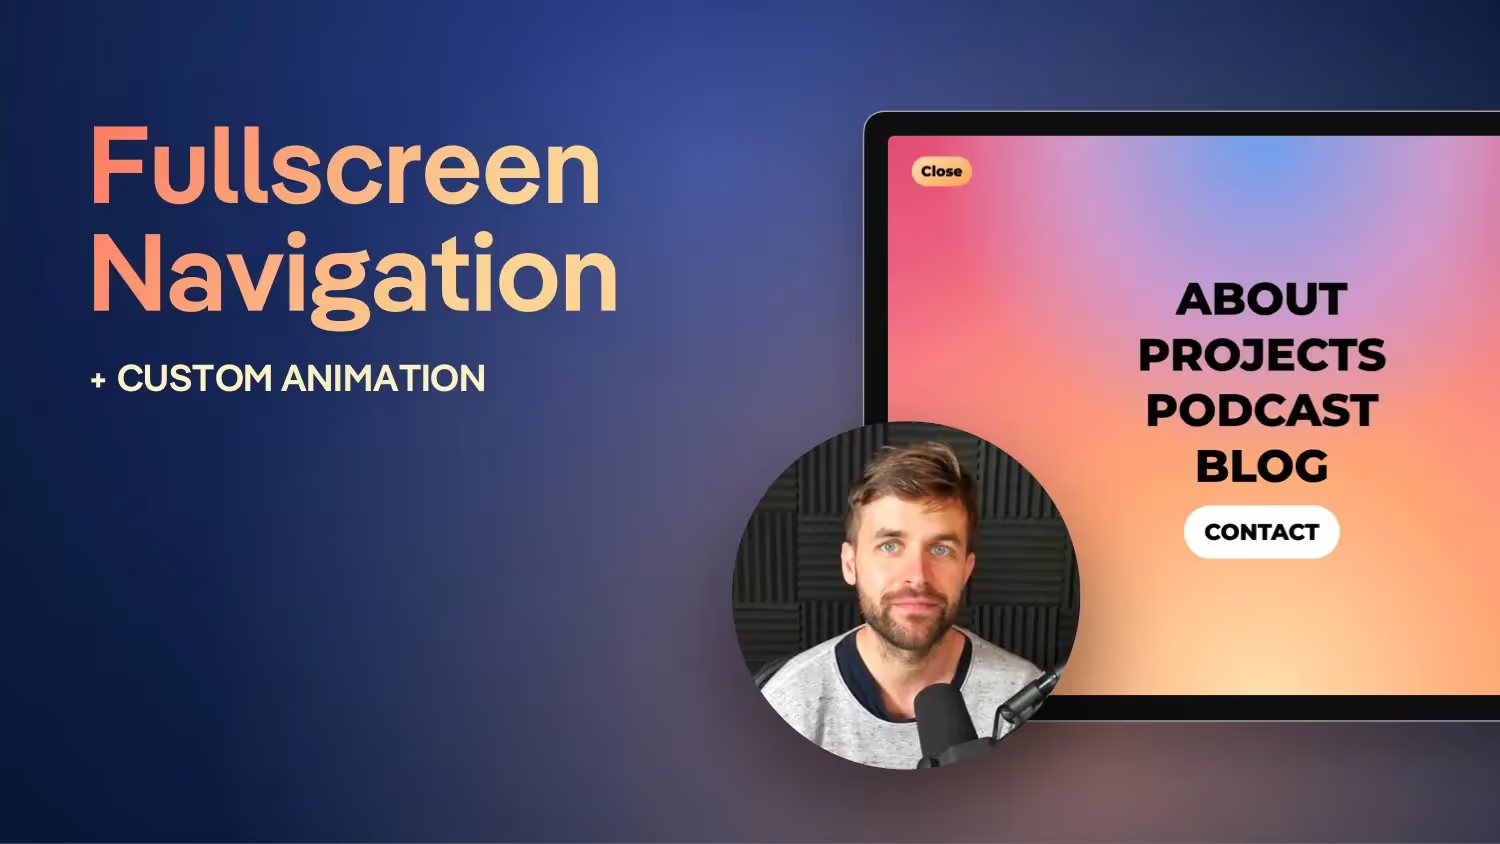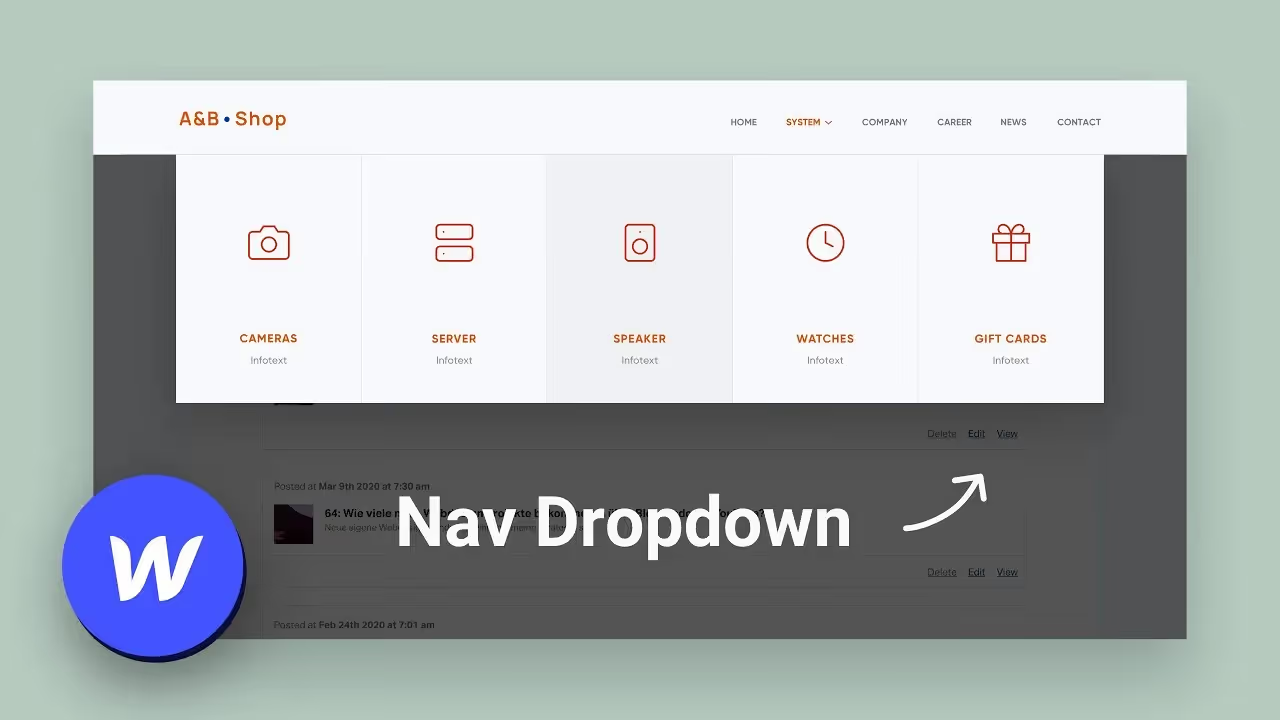
Accessibility: This MUST be in a Website Navigation (Guide & Template)
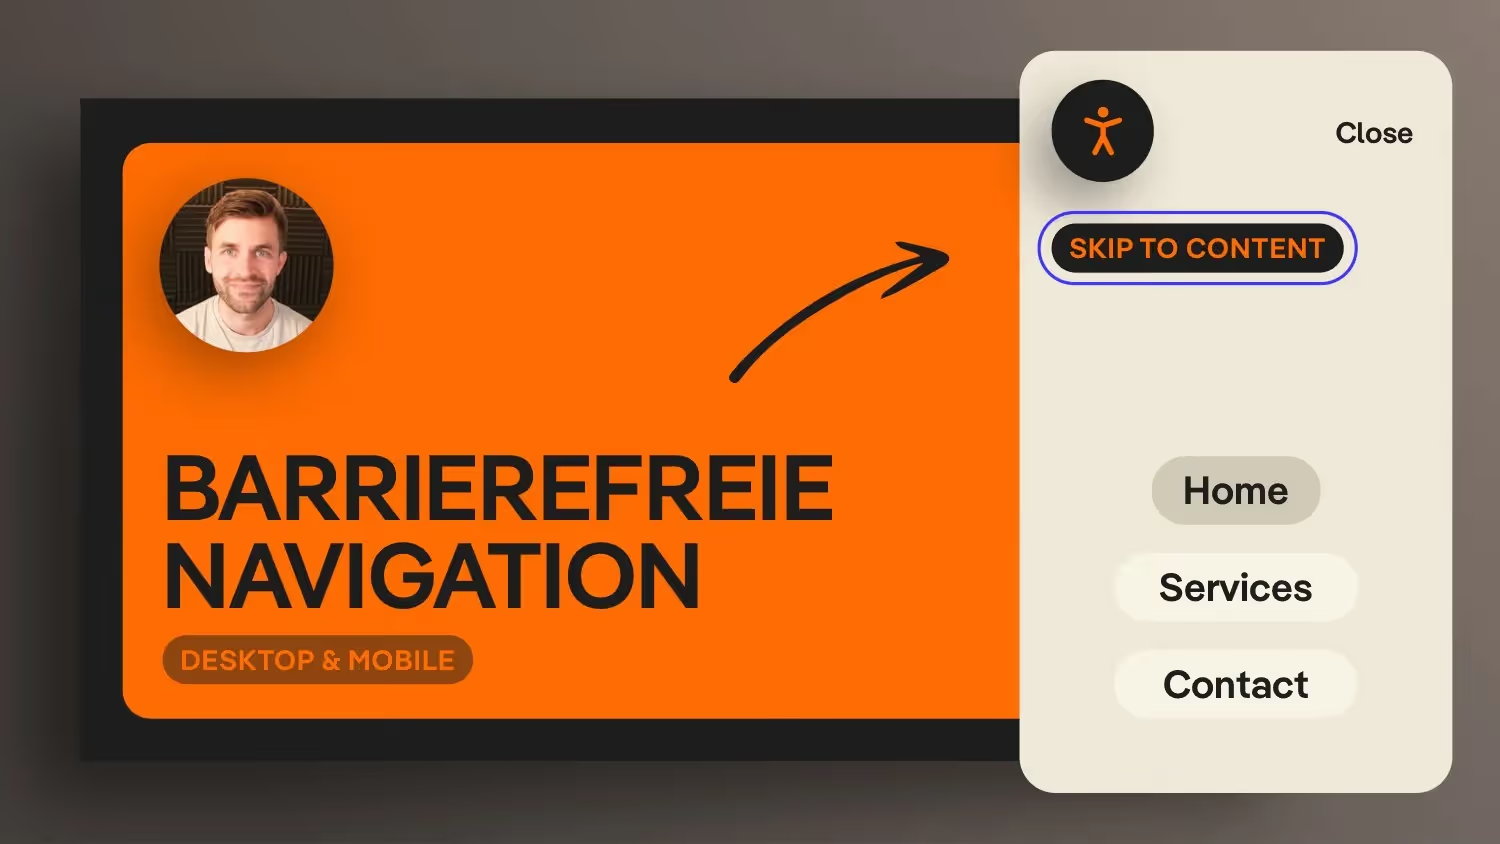

This video is all about building a custom navigation in Webflow. We show step by step how to create barrier-free and flexible navigation with simple HTML and CSS adjustments — including a “skip to content” link, a specially defined dialog element for mobile menus and sophisticated animations. You'll also learn why position sticky, data attributes, and the right focus of elements are so important.
Why create a custom navigation in Webflow?
Many Webflow users rely on the ready-made Webflow Nav component as standard. This is convenient, but may result in restrictions on accessibility and flexibility. With your own concept, you have full control over structures, animations and focus flow for keyboard users.
Skip link for better accessibility
A Skip-Link helps people who navigate using the keyboard. Instead of laboriously browsing through all menu items, they jump directly to the main content.
Here's how to set it up:
- Assign that to your main area
id="main”too. - Build a link with
href=” #main”one. - By default, hide it using CSS and make it visible when you focus on the keyboard.
Navigation via nav and list structure
Structure your links in a nav-Tag and use an unordered list. The screen reader thus recognizes that these are navigation elements and can announce the number of links.
Dialog element for the mobile menu
Instead of laboriously tinkering an overlay with JavaScript, use the native Dialogue-Item. This ensures that the keyboard focus is included there. Here's how:
- Create a
Dialogueelement and hide it via CSS as long as it is not needed. - Use
opento display the menu, and bind an animation (e.g.Clip-path) for the effect. - Close the menu with a button
dialog.close ()or the escape key.
conclusion
Who uses custom navigation in Webflow accessibility and wants to combine special design, should test your own code approach. This is how you get the most out of the editor and offer a first-class user experience.